Description
Key Features
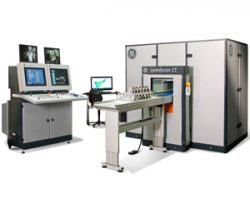
- First time that fast CT will be available for up to 100 % 3D production process control of complex castings
- Typical scan speed of ~1 minute for a cylinder head instead of several hours with conventional CT
- Optimized ease of use and cost of ownership due to high grade of automatization
- All relevant hard- and software components incl. evaluation algorithms are proprietary GE technology
- Robust design for 24/7 at line operation
Benefits
- Proven, gantry based computed tomography offers > 200 x faster inspection compared to conventional industrial CT
- Much faster CT scanning (better statistics) substituting other NDT inspection and metrology processes
- Fast 3D inspection and measurement of complex parts & complete feedback for improved reaction on proccess fluctuations
- Early scrap detection before any further processing steps
- Optimization of plant equipment and tool maintenance intervals
Applications
3D Computed Tomography

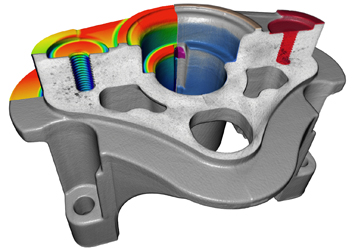
Industrial X-ray 3D computed tomography (micro ct and nano ct) is used for the inspection and three-dimensional measurement of e.g. metal and plastic castings, composites, sintered materials ad ceramics. Materials distribution, voids and cracks are visualized three-dimensionally at microscopic resolution.
Casting & Welding

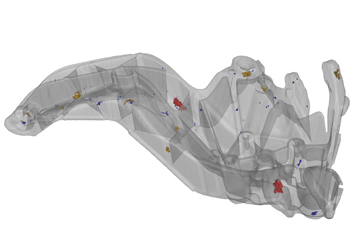
Radiographic non-destructive testing is used to detect flaws in castings and welds. The combination of microfocus X-ray technology and industrial X-ray computed tomography (micro CT) enables defect detectability in the micrometer range and provides three-dimensional images of low-contrast defects.
Metrology

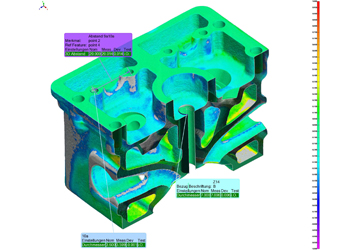
Reproducible 3D metrology with X-ray is the only technique allowing to non-destructively measure the interior of complex objects. By contrast with conventional tactile coordinate measurement technique, a computed tomography scan of an object acquires all surface points simultaneously – including all hidden features like undercuts which are not accessible non-destructively using other methods of measurement. In addition to 2D wall thickness measurements, the CT volume data can be quickly and easily compared with CAD data, for example, in order to analyze the complete component to ensure it complies with all specified dimensions.
Specifications
| Inspection Concept | Manual loading & inspection for statistical process control |
|---|---|
| Max. sample size | appr. 300 x 400 x 800 mm (12” x 16” x 31”) |
| Max. penetration length | Up to 300 mm Al, depending on part geometry |
| Min. detectable defect size | > 0.5 mm, depending on part size |
| Detail detectability | > 0.325 mm |
| Sample weight | Up to 50 kg (110 lbs) |
| 3D Metrology | Fast CAD nominal/actual analysis for process control |
| Scan speed | 5 mm/s – 35 mm/s (overview scout scans up to 100 mm/s) |
| Geometric parameters | Focus to detector: 950 mm; focus to isocenter: 540 mm; max. scan field of view: 500 mm (aperture: 700 mm) |
| Scan parameters | kV: 80 kV – 140 kV mA: 10 mA – 440 mA Power: 0.8 kW – 53kW |
| Dimensions basic cabinet | 2,500 mm wide x 2,200 mm deep x 2,300 height (98” x 87” x 91”) |
| Design | Suitable for industrial environment with dust protection, thermal isolation, shock absorbers |
| Air condition | 7.3 kW industrial climate control (air/water heat exchanger); temperature: 15°-40°C |
| Belt conveyor | Automatic height adjustment: 0-185 mm; Horizontal scanable range: 800 mm; Speed: 5 mm/s to 100 mm/s (loading & unloading up to 200 mm/s) |
| Control unit | Industrial operation console for scanner & conveyor operation |
| Radiation protection | Lead thickness: 3 mm (door, walls, floor). The radiation safety cabinet is a full protective installation without type approval according to the German RöV and the US Performance Standard 21 CFR 1020.40. For operation, other official licenses may be necessary. |
| Software user level | Designer features (Level 3 operator):
|
Inspector and reviewer features (Level 2 operator):
|
|
| Pass/fail decision | By operator |

